Vinyl flooring is one of the easiest floors to look after. It handles spills, resists scratches, and doesn’t need refinishing. But it isn’t indestructible. The clear wear layer on top is what keeps it looking new, and the wrong mop or cleaner can dull it permanently.
The good news: you don’t need special equipment or expensive products. This guide walks through how to clean vinyl flooring properly, the daily routine, the deep clean, stain removal, and the handful of mistakes that cause most of the damage homeowners see.
First, Know What Kind of Vinyl You Have
The cleaning method is nearly the same across all vinyl flooring in Dubai, but two differences matter enough to check before you start.
Plank and tile vs. sheet vinyl
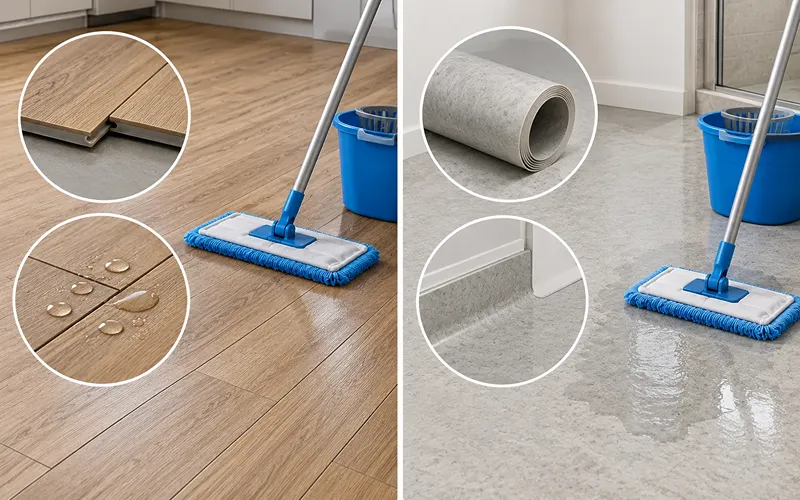
Luxury vinyl plank (LVP) and LVT Flooring are made of individual pieces with seams between them. Water can work its way into those seams and reach the subfloor. Click-lock planks that float over the subfloor are the most vulnerable, since nothing seals the edges.
Sheet vinyl comes in one continuous roll and is usually glued at least around the perimeter. There are almost no seams for water to enter, so it tolerates a wetter mop.
In practice: use a damp mop on planks and tiles, and a slightly wetter one on sheet vinyl if you need to. Neither should ever be soaked.
No-wax vs. older waxed vinyl
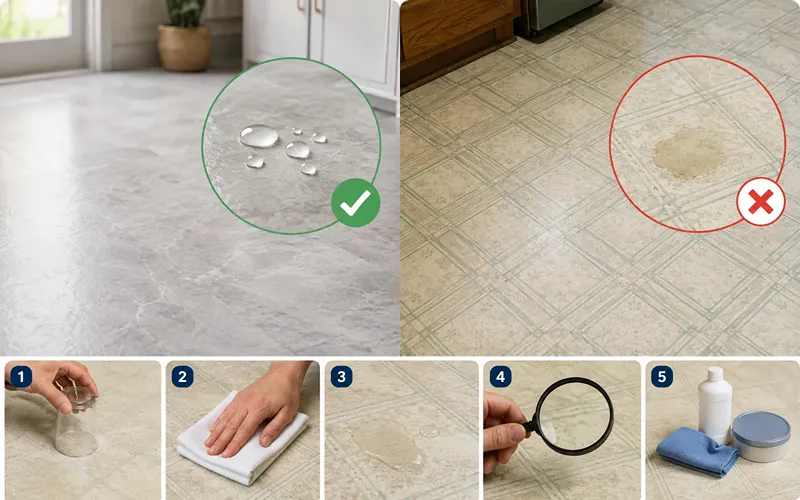
Almost all vinyl sold in the last two decades has a factory-applied no-wax finish. It never needs polish. Adding wax to it creates a cloudy film that traps dirt and is difficult to strip off.
Older sheet vinyl in homes built before the 1990s sometimes has no protective topcoat and does benefit from an occasional vinyl-safe polish. If you’re not sure which you have, check whether water beads on the surface or soaks in. Beading means there’s a finish, and you should leave it alone.
What You’ll Need
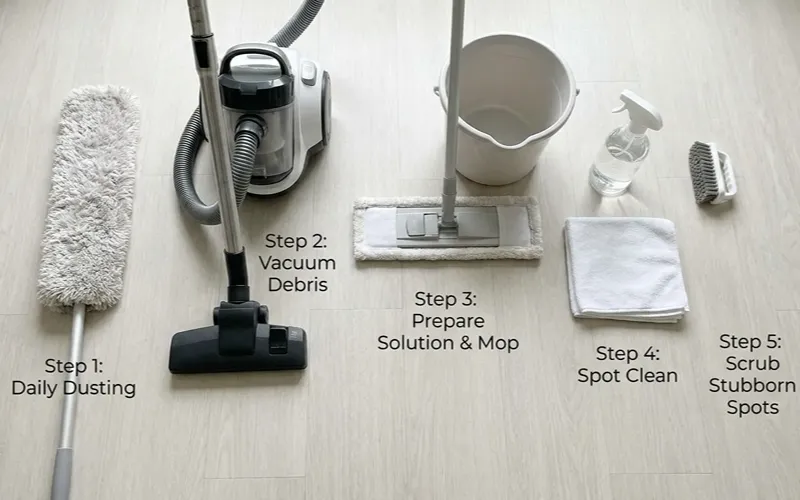
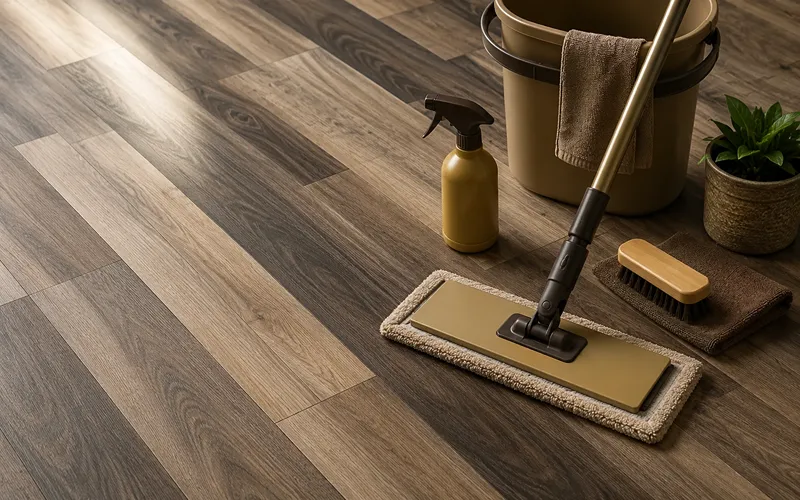
You probably own most of this already:
- A soft broom or microfiber dust mop for daily debris
- A vacuum with the beater bar switched off (or a hard-floor setting)
- A flat microfiber mop, not a string or sponge mop, which holds too much water
- A bucket for mixing solution
- A pH-neutral cleaner made for vinyl or resilient floors
- A few white microfiber cloths for spot cleaning
- A soft nylon brush for textured areas and stubborn spots
Use white or undyed cloths. Brightly dyed rags and cleaners can transfer colour into the wear layer, and that stain doesn’t come out.
The Best Way to Clean Vinyl Flooring: Step by Step
Set aside about 20 minutes for an average room.
Step 1: Clear the floor and remove loose dirt
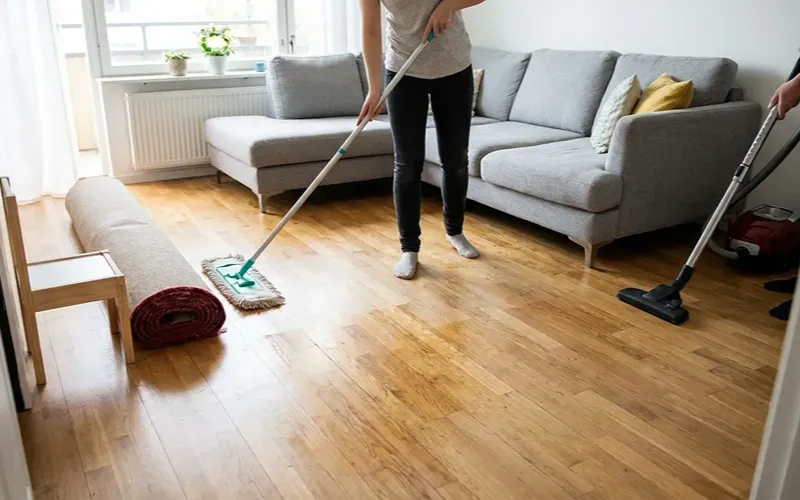
Move light furniture and rugs out of the way. Sweep or dust mop the whole floor, including corners, edges, and under cabinets.
This step matters more than anything else. Grit acts like sandpaper underfoot, and mopping without removing it first just drags the grit around and creates fine scratches.
Follow with a vacuum pass if the floor is textured or has plank seams. Turn the rotating brush off first.
Step 2: Mix your cleaning solution
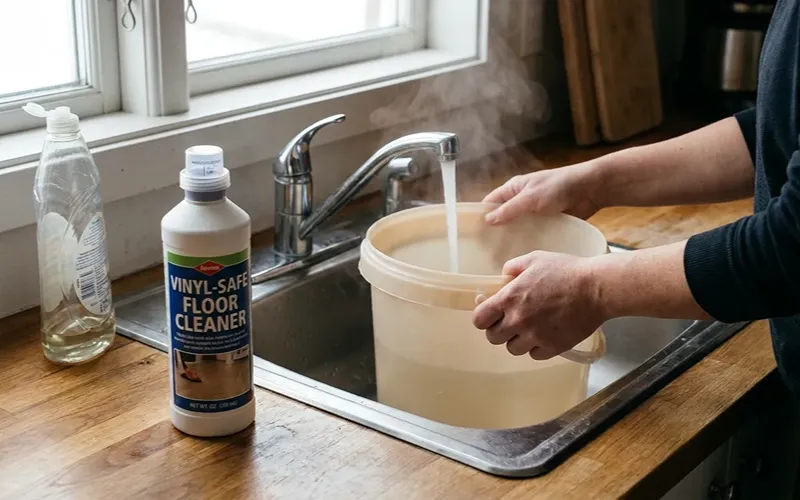
Fill a bucket with warm water and add a vinyl-safe cleaner according to the label. Less is better than more, extra cleaner leaves a sticky residue that attracts dirt within days.
If you’d rather use what’s in the kitchen, a few drops of clear liquid dish soap in a gallon of warm water works well for general cleaning.
Step 3: Damp mop, section by section
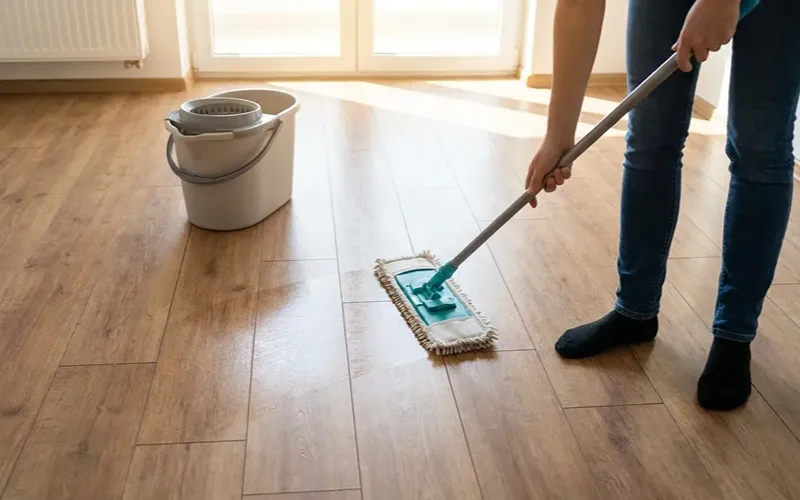
Dip the mop, then wring it out until it feels barely damp. Water should not pool anywhere on the floor or run toward the seams.
Work in sections of about a square metre. Mop along the length of the planks rather than across them, which keeps streaks from showing. Rinse the mop head often, a dirty mop redistributes grime instead of lifting it.
Step 4: Rinse
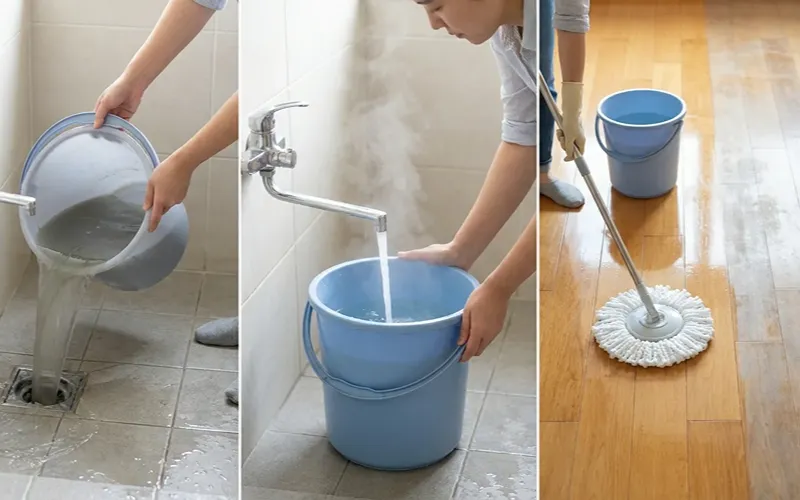
Empty the bucket, refill with plain warm water, and go over the floor a second time with a clean, well-wrung mop.
People skip this step and then wonder why their floor looks dull and feels tacky. Detergent film is the usual culprit. A plain water rinse takes two minutes and prevents it.
Step 5: Dry
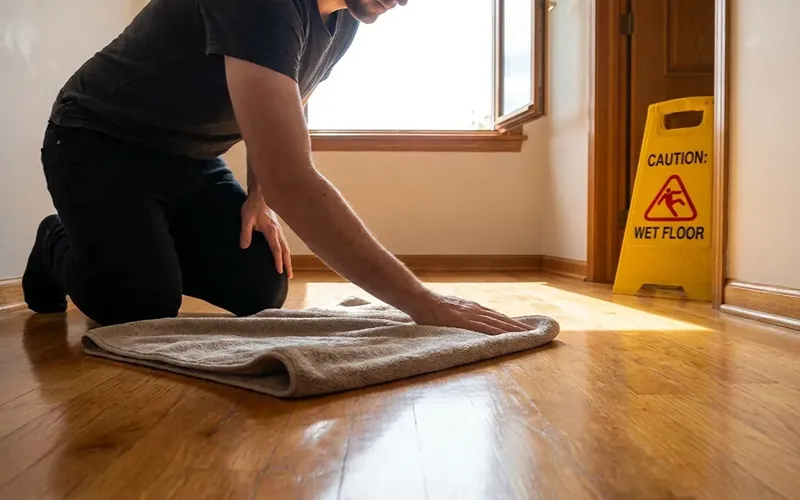
Wipe the floor with a dry microfiber cloth or towel, or open a window and let air do the work. Keep traffic off until it’s fully dry.
Drying prevents water spots, stops moisture from lingering at the seams, and removes the slip hazard.
Choosing the Right Cleaning Products
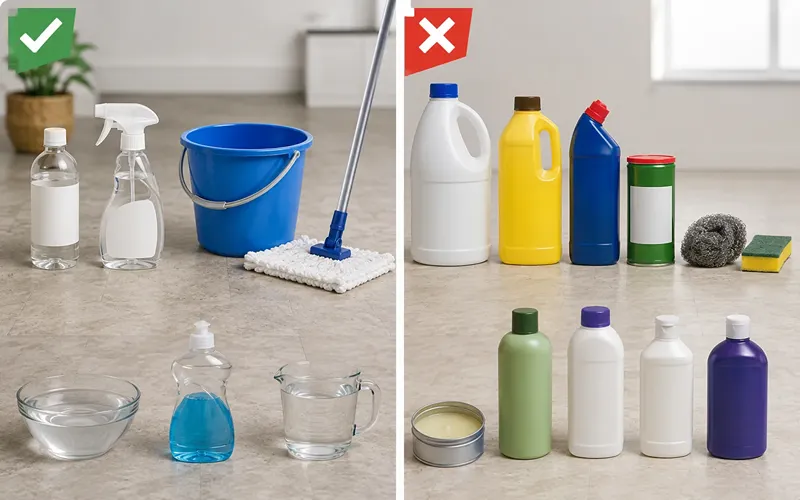
Vinyl reacts badly to anything harsh or high-alkaline. Stick to these:
Safe choices
- pH-neutral cleaners labelled for vinyl, LVP, or resilient flooring
- Plain warm water for routine touch-ups
- A small amount of clear dish soap in warm water
- Diluted white vinegar, if your manufacturer allows it
Avoid these
- Bleach and ammonia, they break down the wear layer and can yellow the surface
- Abrasive powders, scouring pads, and steel wool
- Wax, polish, and “shine restorer” products on no-wax floors
- Oil soaps and “mop and shine” products, which leave a residue film
- Anything with strong dye
A Note on Vinegar
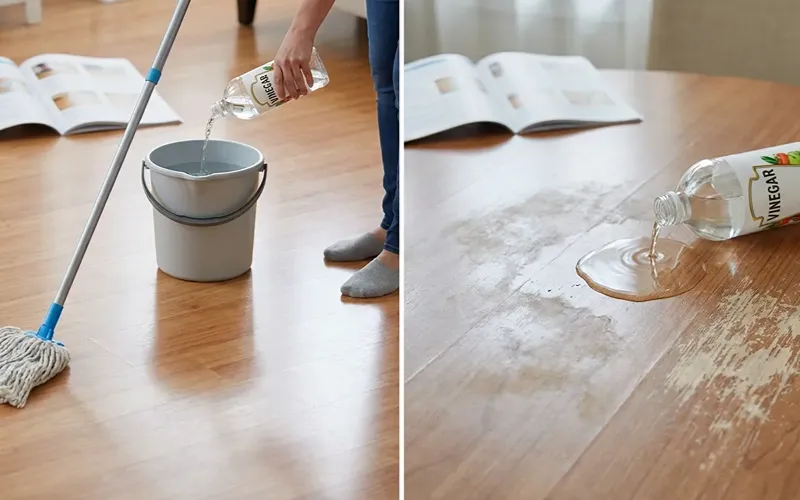
Diluted white vinegar cuts through light film and dries without residue, which is why it’s such a popular recommendation. Use about one cup per gallon of warm water.
But vinegar is acidic, and repeated use can slowly etch the finish. Several flooring manufacturers advise against it and may treat it as improper maintenance under warranty. Check your paperwork before making it your regular cleaner, and never pour it directly onto the floor.
How to Remove Common Stains from Vinyl Flooring
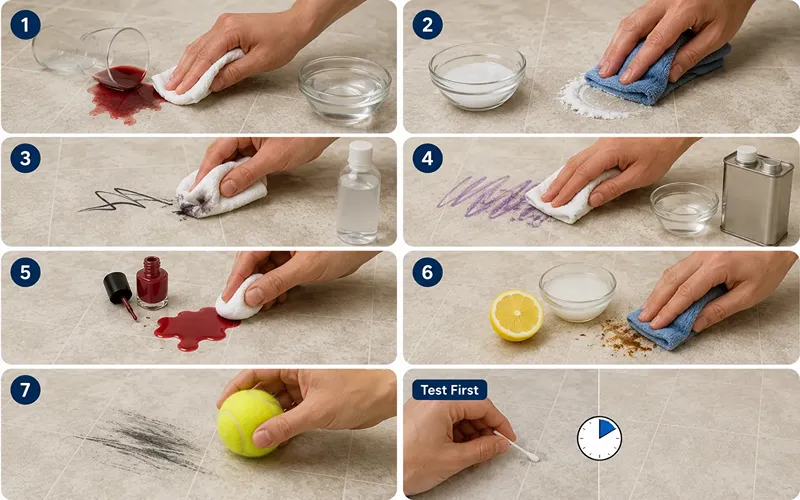
Blot spills as soon as they happen and most stains never form. When something has already set in, match the treatment to the stain.
Food, drink, and general grime
Make a paste of baking soda and water. Rub gently with a soft damp cloth, working from the edge of the stain inward. Wipe clean with plain water afterwards so no gritty residue is left behind.
Ink, lipstick, and hair dye
Dab rubbing alcohol onto a white cloth and blot the mark. Don’t scrub, and don’t leave alcohol sitting on the surface, it dries out vinyl with repeated use. Rinse the spot with water when the stain lifts.
Crayon, marker, and paint
Mineral spirits on a soft cloth usually handle these. Ventilate the room and rinse the area afterwards.
Nail polish
A cotton pad with acetone-free remover, applied briefly, works for most spills. Acetone will lift stubborn polish but is harsher, so test it in a closet or under an appliance first.
Rust
A paste of cream of tartar and lemon juice, left for a few minutes and then wiped away, will fade most rust marks.
Scuff marks
A clean tennis ball, or a pencil eraser for smaller marks, rubs black shoe scuffs off without any chemicals at all.
Always test first. Whatever solvent you’re using, try it in a hidden corner and wait a few minutes. If the finish looks cloudy or feels tacky, stop and use something gentler.
When a Stain won’t Come Out
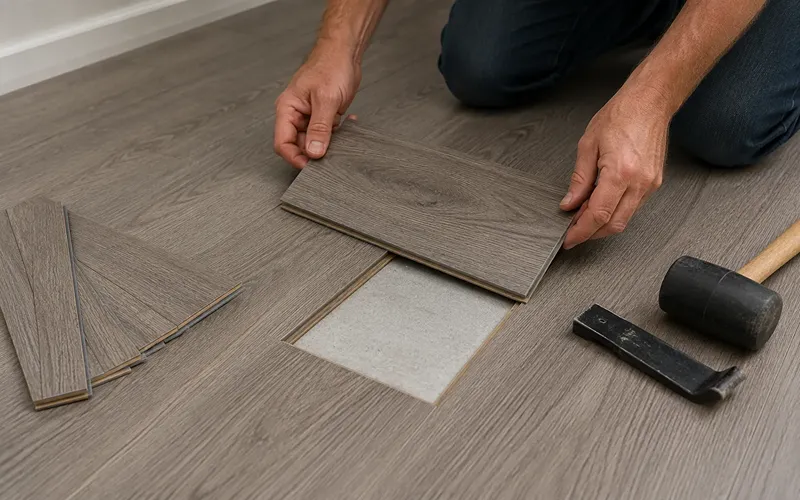
Deep stains that have reached below the wear layer are permanent. On plank flooring, this is where you have an advantage, a single plank can usually be lifted and replaced. Keep a few spares from the original installation for exactly this reason.
Regular Maintenance That Keeps Vinyl Looking New
Most of the wear on a vinyl floor comes from grit, sunlight, and furniture rather than from cleaning.
A simple schedule
| How often | What to do |
| Daily or every other day | Sweep or dust mop high-traffic areas |
| Weekly | Vacuum thoroughly, then damp mop |
| Every 2–3 months | Deep clean with a vinyl floor cleaner |
| Twice a year | Check furniture pads, doormats, and seams for gaps |
Homes with pets, kids, or an entry that opens onto a garden will need the sweeping more often. Everything else can stay on schedule.
Prevention that Actually Helps
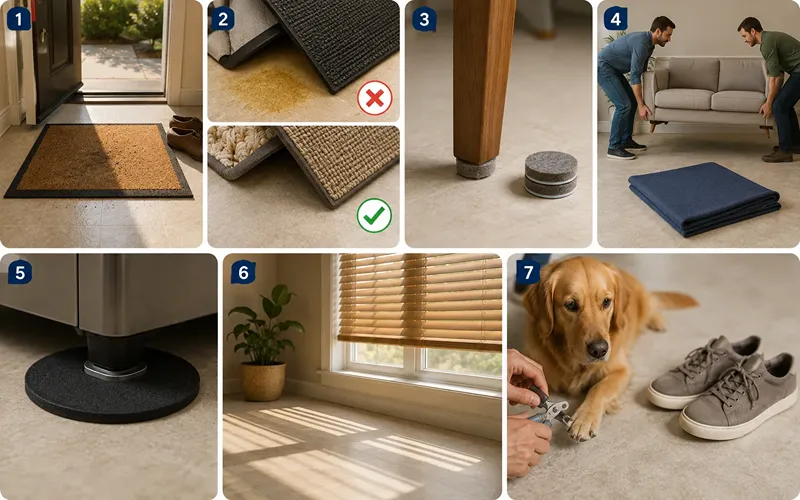
- Put doormats at every exterior door. This alone removes most of the grit before it reaches the floor.
- Skip rubber-backed and latex-backed mats. They react with vinyl and leave permanent yellow discolouration. Look for mats labelled non-staining or colourfast.
- Fit felt pads under furniture legs and check them every few months, since old pads collect grit and turn into sandpaper.
- Lift furniture instead of dragging it. For heavy items, slide a sheet of hardboard or a thick blanket underneath.
- Use wide floor protectors under anything heavy. Narrow metal or plastic feet dent vinyl over time.
- Close blinds during peak sun hours. Prolonged direct sunlight fades vinyl and can cause it to expand and lift at the seams.
- Trim pet nails and keep outdoor shoes off, especially anything with small stones caught in the tread.
Common Mistakes to Avoid
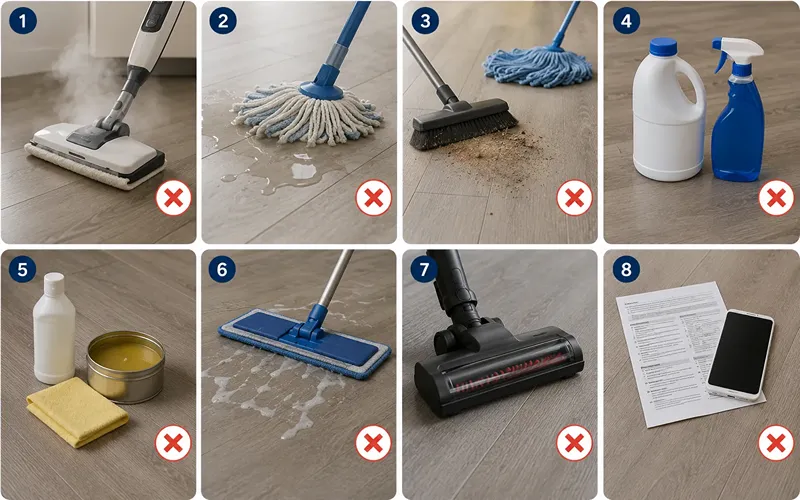
These are the errors that cause real damage, in rough order of how often they happen.
Using a Steam Mop
Heat and pressurised moisture force their way into the seams, soften the adhesive, and can cause planks to lift or curl. Most vinyl manufacturers explicitly void the warranty if a steam cleaner has been used. A small number of products are rated as steam-safe, but assume yours isn’t unless the paperwork says otherwise.
Flooding the Floor
A soaking mop leaves standing water that seeps between planks and reaches the subfloor. The result, warping, lifted edges, sometimes mildew, often shows up weeks later, when the cause isn’t obvious. Wring until the mop is barely damp.
Mopping before Sweeping
Wet grit scratches. This is the single most common cause of a floor that looks hazy and worn well before it should.
Using Bleach or Ammonia
Both attack the protective topcoat. The floor might look brighter for a day, then progressively duller as the finish thins.
Waxing a no-wax Floor
Wax and polish sit on top of the factory finish as a hazy film. It attracts dirt, yellows over time, and stripping it off is far more work than the original problem was.
Skipping the Rinse
Leftover detergent leaves a sticky layer that grabs every bit of dust. If your floor looks clean but feels slightly tacky underfoot, that’s residue, and a plain warm water mop will clear it.
Vacuuming with the Beater bar on
The rotating brush is designed for carpet. On vinyl it flings grit around and can leave scuff lines. Switch it off or use the hard-floor setting.
Ignoring the manufacturer’s instructions
Different wear layers tolerate different things. Two minutes with the care sheet, or a search for your product name plus “care guide”, tells you exactly what’s approved for your floor, and keeps the warranty intact.
The Short Version
Sweep often, mop with a barely damp microfiber pad and a pH-neutral cleaner, rinse with plain water, and dry. Deal with spills straight away. Keep steam, bleach, wax, and soaking wet mops away from it entirely.
Do that consistently and a vinyl floor will hold its finish for 15 to 20 years, which is far less effort than most flooring asks for.
Frequently Asked Questions
How often should I mop vinyl flooring?
Once a week for most homes. Kitchens and entryways may need it twice. Sweeping matters more than mopping, so prioritise that if you’re short on time.
Can I use a robot vacuum on vinyl?
Yes, as long as it isn’t running an aggressive rotating brush. Robot mops are fine too, provided they release a light mist rather than pooling water.
Why does my vinyl floor look dull after cleaning?
Almost always residue, too much cleaner, no rinse step, or a wax product that shouldn’t have been applied. Mop with plain warm water a few times and see if the shine returns.
Is vinyl flooring waterproof?
The vinyl itself is. The seams, edges, and subfloor underneath are not. That distinction is what makes damp mopping safe and wet mopping risky.
Can I use a magic eraser on vinyl?
Sparingly, on isolated scuffs. Melamine foam is a fine abrasive, so repeated use will polish away the finish in that spot and leave a visible dull patch.