
Shower tiles take a beating every single day. Hot water, soap, shampoo residue, and constant humidity turn them into a magnet for soap scum, hard water stains, and mildew, often within just a week or two of your last cleaning session. If you’ve ever scrubbed a grout line until your arm aches, only to see it look dull again a few days later, the issue usually isn’t effort. It’s using the wrong method for your specific tile, grout, and cleaner.
This guide by Floor Way walks you through a full system: the tools to gather, a step-by-step deep-cleaning process, how to treat stubborn stains without damaging your surfaces, and a maintenance routine that keeps your shower looking new.
Match your cleaner to your tile and grout (check the manufacturer’s care instructions first), apply it and let it dwell for 10–15 minutes, scrub with a non-abrasive tool, rinse thoroughly, then dry and ventilate the shower. Never mix cleaning products, especially vinegar and bleach. Avoid vinegar and other acidic cleaners on natural stone.
Why Do Shower Tiles Get Dirty So Fast?
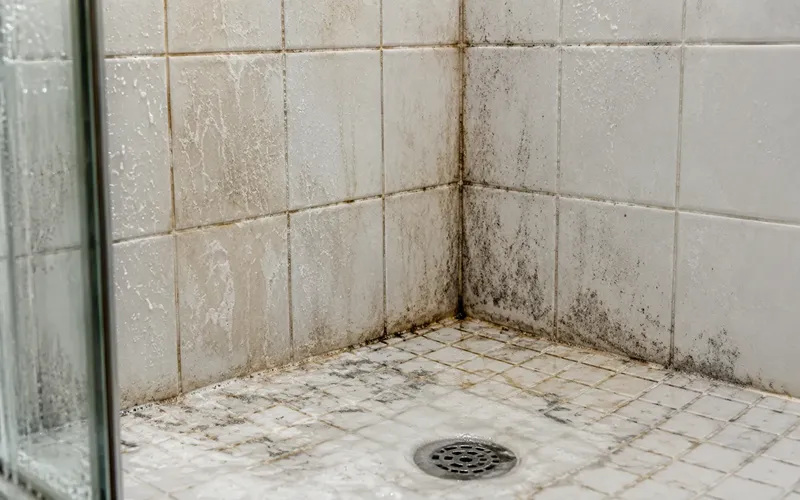
Before jumping into the cleaning steps, it helps to understand what you’re actually fighting. Three things combine to dirty up a shower faster than almost any other surface in the house:
- Soap scum, a filmy residue formed when soap reacts with minerals in hard water. It clings to tile and glass and gets tackier the longer it sits.
- Hard water stains, chalky white or cloudy deposits left behind when mineral-rich water evaporates on the surface.
- Mold and mildew, dark spots that thrive in grout lines and corners because those areas stay damp long after you’ve finished showering.
Grout is the biggest troublemaker of the three. Because it’s porous, it absorbs moisture, soap, and skin oils far more readily than the tile itself, which is why grout lines usually look dirty long before the tiles do.
What You’ll Need Before You Start?
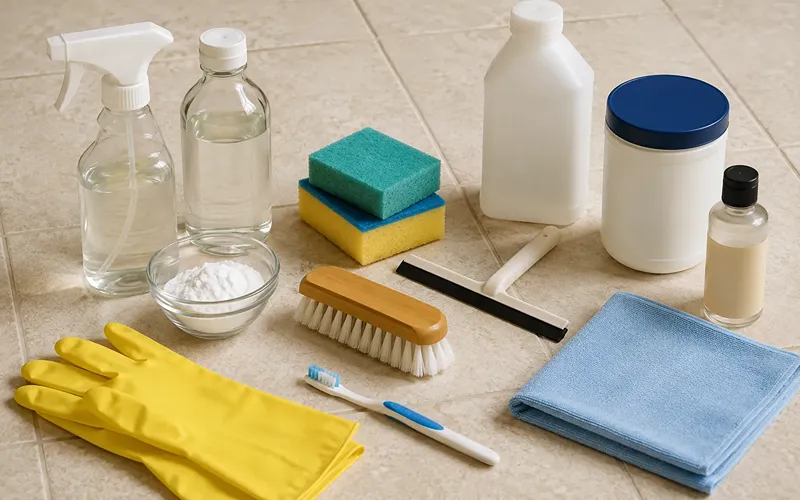
Having the right supplies on hand makes the whole process faster and lowers the risk of damaging tile, grout, or sealant with the wrong product. Here’s a simple checklist:
- A pH-neutral tile cleaner (essential for natural stone)
- White vinegar and a spray bottle (for tiles where it’s appropriate, see below)
- Baking soda
- A soft-bristled scrub brush or an old toothbrush for grout lines
- A non-abrasive sponge or microfiber cloth
- A squeegee
- Rubber gloves, plus eye protection for stronger products
- Oxygen bleach (optional, for heavy grout staining)
- A grout sealer, matched to your grout type
Skip anything with steel wool, metal scrubbers, or harsh abrasive pads. They cut through grime quickly, but they also scratch glazed tile and wear down grout, which speeds up future staining.
Before You Clean: Check Tile, Grout, and Cleaner Compatibility
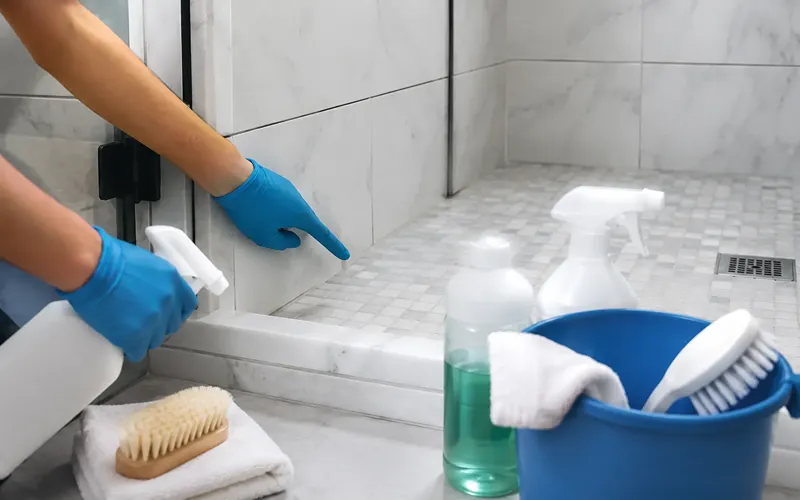
This step is easy to skip, but it’s the one that prevents most cleaning mistakes. Tile, grout, and sealants vary a lot in how they hold up to acids and abrasives, so treat the following as ground rules rather than optional advice:
- Check the manufacturer’s care instructions first, if you have them, for the tile, the grout, and any sealer. When product-specific guidance is available, it takes priority over any general tip in this article.
- Test unfamiliar products on a small, hidden area before using them across the whole shower, especially on natural stone, colored grout, or anything sealed.
- Never mix cleaning products. The vinegar-and-bleach combination is the most well-known danger (it produces toxic chlorine gas), but mixing other household chemicals can also create harmful fumes. Use one product at a time and rinse thoroughly before switching.
How to Deep Clean Shower Tiles
1. Clear the Shower
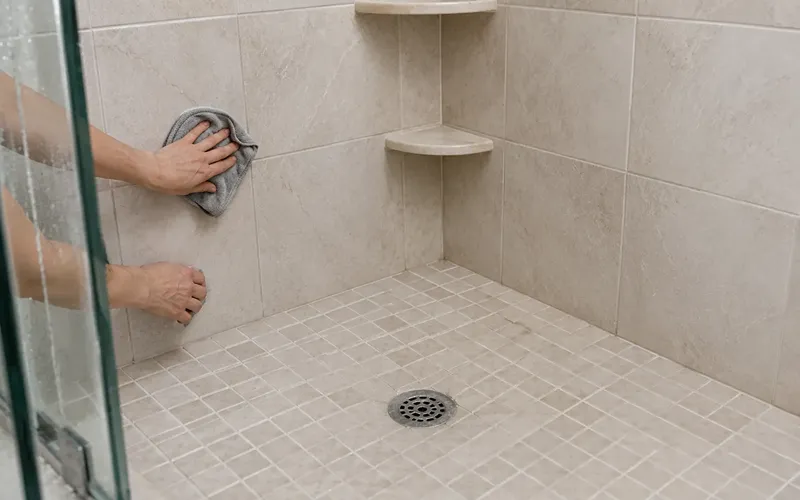
Remove shampoo bottles, loofahs, and anything else sitting on shelves or in caddies. Wipe away loose dust, hair, and debris with a dry microfiber cloth. The cleaning solution works far better on a surface that isn’t already coated in loose grime.
2. Pre-Rinse
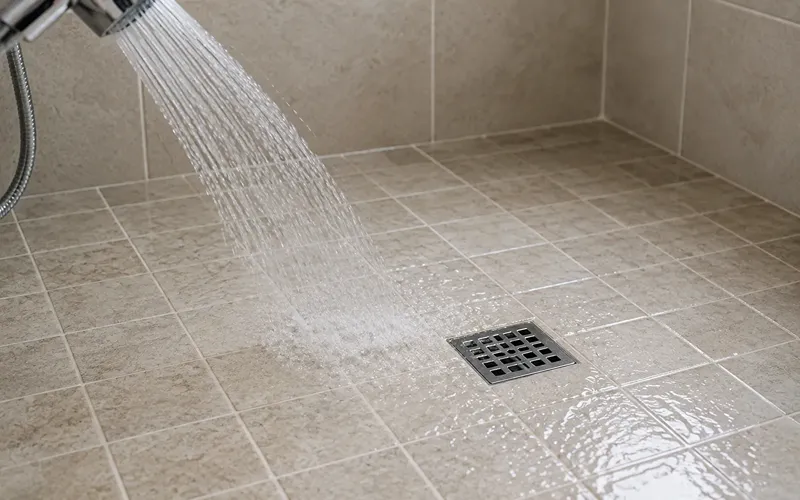
Run warm water over the tiles for a minute or two. This loosens surface-level soap residue and softens buildup before you apply any product, meaning less scrubbing later.
3. Apply the Appropriate Cleaner
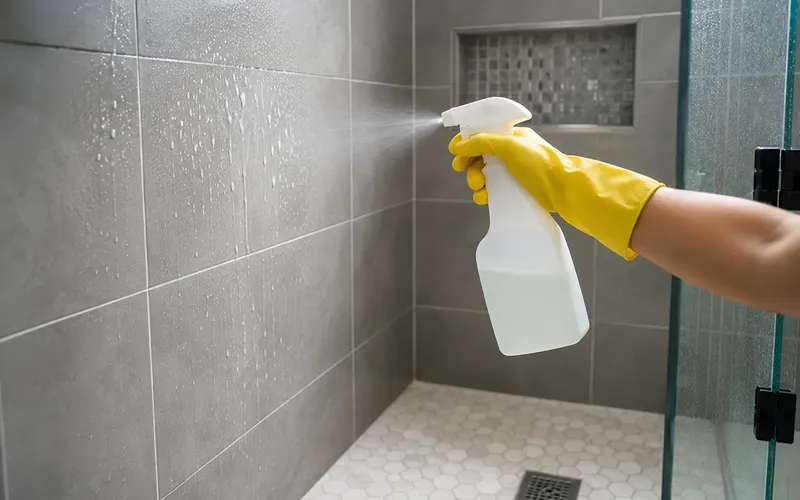
For ceramic and porcelain tile, a 1:1 mix of white vinegar and warm water is generally fine. Still, check your grout and sealant instructions first, some sealed or specialty grouts don’t tolerate acidic cleaners well. For natural stone, skip vinegar entirely and use a pH-neutral cleaner, since acid can etch and permanently dull stone. Spray your chosen cleaner evenly, starting from the top of the shower and working down.
4. Allow Proper Dwell Time
Give the solution 10 to 15 minutes to break down oils and mineral deposits before you start scrubbing. This dwell time does most of the work.
5. Scrub Safely
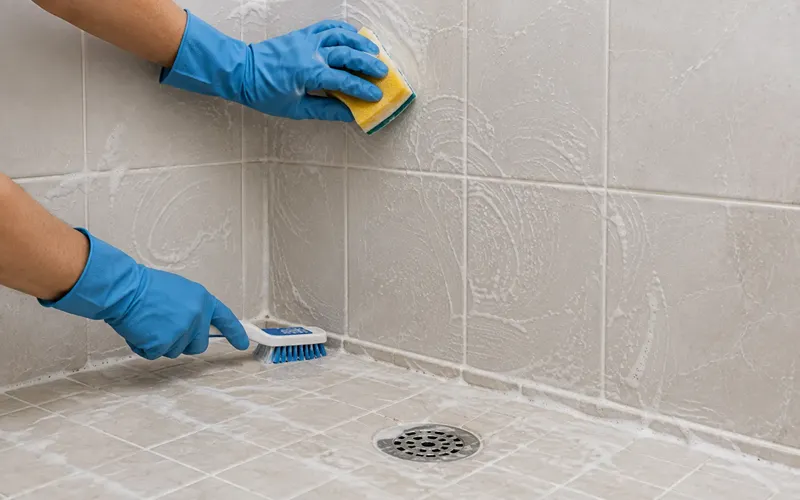
Use a soft sponge for flat tile surfaces and a soft-bristled brush or old toothbrush for grout lines and corners. Work in small circular motions rather than pressing hard in one direction, this lifts grime without scratching the glaze.
6. Rinse Thoroughly
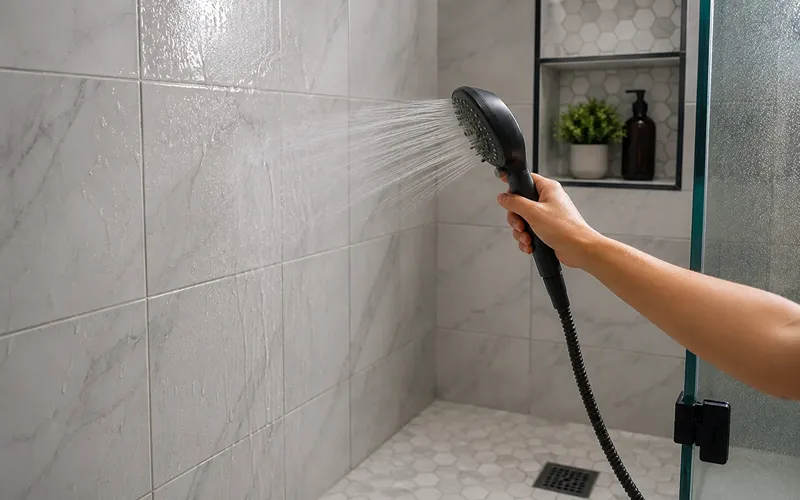
Rinse every surface with warm water to remove all traces of cleaner. Leftover residue attracts dirt faster and can leave streaks once it dries.
7. Dry and Ventilate
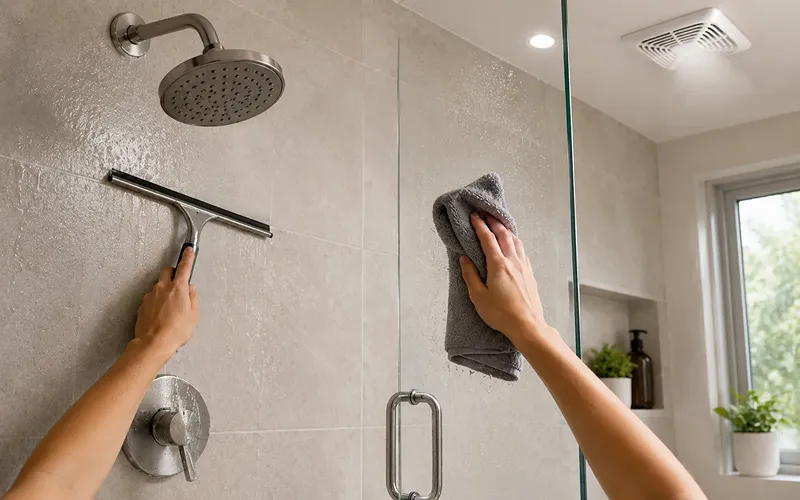
Use a squeegee on the walls and glass, then go over everything with a dry microfiber cloth. Mold and mildew need moisture to grow, so keeping surfaces dry reduces the risk significantly. Running the bathroom exhaust fan (or opening a window) afterward helps too. That said, drying alone won’t fix mold that keeps coming back from an underlying leak or ventilation problem, more on that later in this guide.
How to Clean Shower Grout
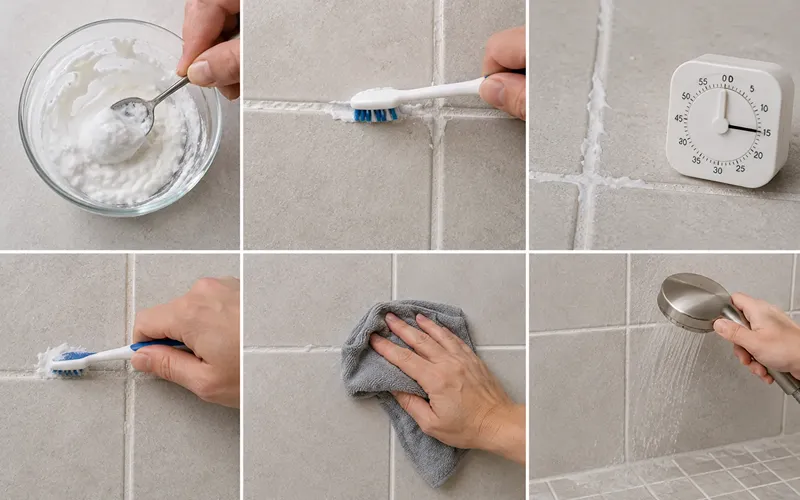
Grout needs a slightly different approach because it’s porous and far more absorbent than tile.
- Make a thick paste using baking soda and a small amount of water.
- Apply the paste directly onto the grout lines with an old toothbrush.
- Let it sit and harden for about 15 minutes.
- Scrub gently along the lines, then wipe away with a damp microfiber cloth.
- Rinse with warm water until no paste residue remains.
For grout that’s badly discolored, oxygen bleach can be a useful alternative for some situations, but treat it as a product to use carefully rather than a fixed recipe. Follow the ratio on your specific product’s label rather than a generic mix, since concentrations vary between brands. Test a small area first, ventilate the bathroom well, wear gloves (and eye protection if the label recommends it), and never combine it with other cleaners, including vinegar.
Important safety note: never mix vinegar with chlorine bleach, the combination produces toxic chlorine gas, even in small amounts. Oxygen bleach doesn’t carry that specific risk, but it’s still best not to combine it with vinegar or any other cleaner, since other unwanted reactions are possible. If you’ve recently cleaned with vinegar, rinse the area completely with plain water before switching to any bleach-based product, and keep the room ventilated throughout.
Grout types matter too. Cementitious grout (the most common type) is porous and benefits most from regular sealing. Epoxy grout is far more stain- and water-resistant and generally doesn’t need sealing at all. Some grout also comes pre-sealed from the factory. If you’re not sure which you have, check your installer’s paperwork or the grout packaging before choosing a sealer, using the wrong one wastes effort and won’t perform as expected.
Once your grout is clean and completely dry, apply a sealer that matches your grout type. Sealing blocks moisture and soap scum from soaking back into the grout, which cuts down on how often you’ll need to deep clean.
How to Remove Soap Scum, Hard-Water Stains, and Mildew
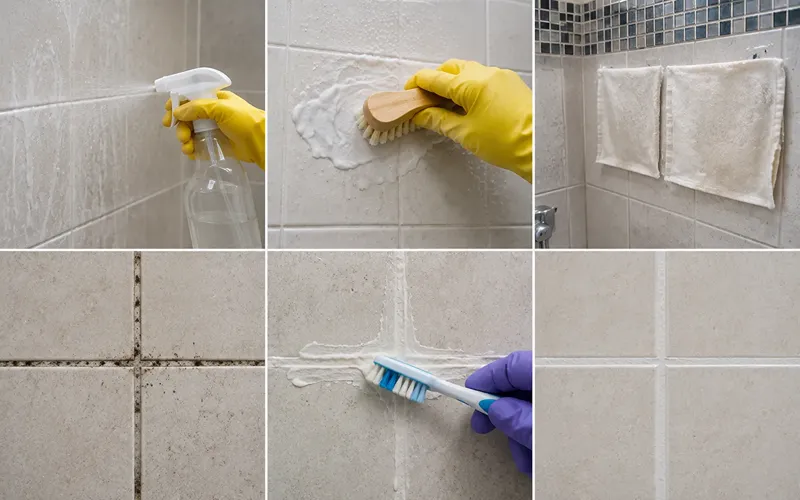
Different stains respond to different treatments, so match the method to the problem rather than reaching for one all-purpose spray, and confirm the approach is suitable for your surface before applying.
Soap scum: On tile that tolerates it, a vinegar-and-water solution left on for 10 to 15 minutes usually dissolves scum on its own. For thicker buildup, follow with a baking soda paste and light scrubbing.
Hard water stains: On acid-tolerant tile, straight white vinegar works better than a diluted mix for chalky deposits. Soak a cloth in vinegar, lay it directly over the stained area, and leave it for 30 minutes before wiping and rinsing. Avoid this on natural stone, and avoid prolonged contact with metal fixtures or unsealed grout, since acid can affect these too. Staying on top of daily squeegeeing also prevents most mineral buildup from forming in the first place. If deposits are already heavy and persistent, a descaler formulated for your surface may work better than repeated vinegar soaks.
Mold and mildew: Small surface patches usually lift with a vinegar spray (on acid-tolerant tile) and a scrub brush. For more established mold in grout lines, an oxygen bleach paste can be effective, follow the product label for concentration and dwell time, and ventilate well. If mold keeps returning in the same spot after cleaning, that’s usually a sign of an underlying moisture problem rather than a cleaning problem, see the section below.
How to Clean Different Shower Tile Types

Not every shower surface can handle the same treatment, so adjust your approach based on what you’re working with.
- Ceramic and porcelain tile: Generally the most tolerant surfaces, but still confirm compatibility with your specific grout and sealant rather than assuming any product is automatically safe.
- Natural stone (marble, travertine, limestone, onyx, granite): Avoid vinegar and other acidic cleaners entirely, acid etches acid-sensitive stone and dulls its finish permanently. Stick to a pH-neutral cleaner and a soft cloth, and reseal on the schedule your stone supplier recommends.
- Glass shower doors: A vinegar-and-water spray followed by a baking-soda-dusted microfiber cloth cuts through water spots effectively. Dry with a squeegee immediately after every use to prevent spots from forming in the first place.
- Mosaic tile: The extra grout lines in mosaic layouts mean more surface area for grime to collect, so plan on spending more time on grout care specifically.
How to Clean the Shower Floor Safely
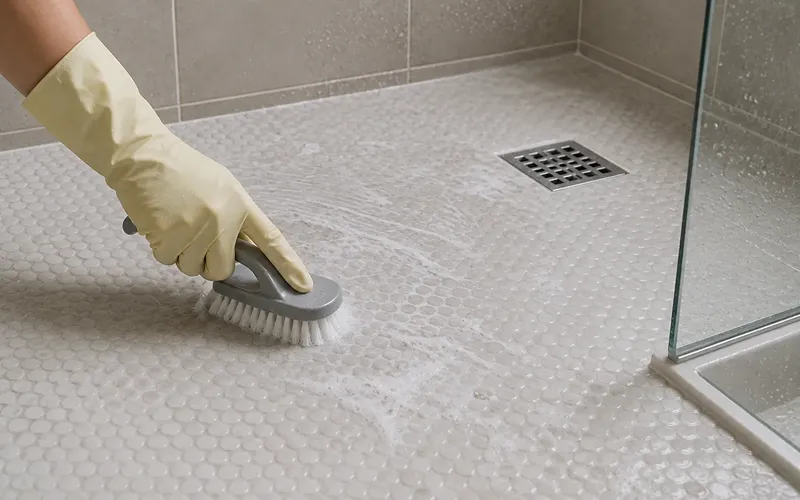
Shower floors get overlooked because they’re less visible, but they usually have more textured or non-slip surfaces than the walls, which trap soap residue in the grip pattern. A soft-bristled brush works better than a sponge here, since it can reach into the texture without you having to press hard. Work the cleaner into the textured areas with light, repeated strokes rather than heavy pressure, and rinse thoroughly, soap film left on a non-slip surface can actually make it more slippery, not less. If your floor has a drain, keep the area around it clear of hair and debris so standing water doesn’t sit on the tile any longer than necessary.
When Cleaning Isn’t Enough: Caulk, Cracked Grout, Leaks & Recurring Mold
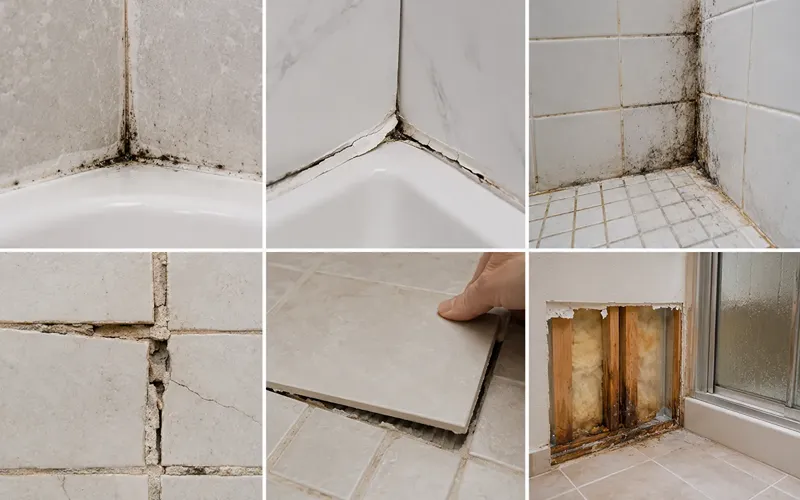
It helps to know the difference between grout and caulk: grout fills the joints between tiles, while caulk (or silicone sealant) is typically used where tile meets a different surface, around the tub, at corners, or around fixtures, because it flexes where grout would crack.
If you see dark staining that won’t lift no matter how you clean it, look closely at whether it’s actually surface mold on grout or mold embedded in deteriorated, blackened caulk. Cleaning can usually resolve the former; the latter often needs the caulk removed and replaced, since mold can grow underneath and behind it where a surface clean can’t reach.
More generally, it’s worth calling in a professional if you notice any of the following:
- Mold that returns in the same spot shortly after cleaning
- Visible water intrusion, active leaks, or soft/damaged drywall near the shower
- Cracked, crumbling, or missing grout
- Loose or hollow-sounding tiles
- Mold covering a large area rather than a small, isolated patch
Cleaning treats the symptom. Recurring mold is almost always a sign of an underlying moisture problem that needs to be fixed directly, a failed seal, poor ventilation, or a leak.
Shower Tile Maintenance Routine
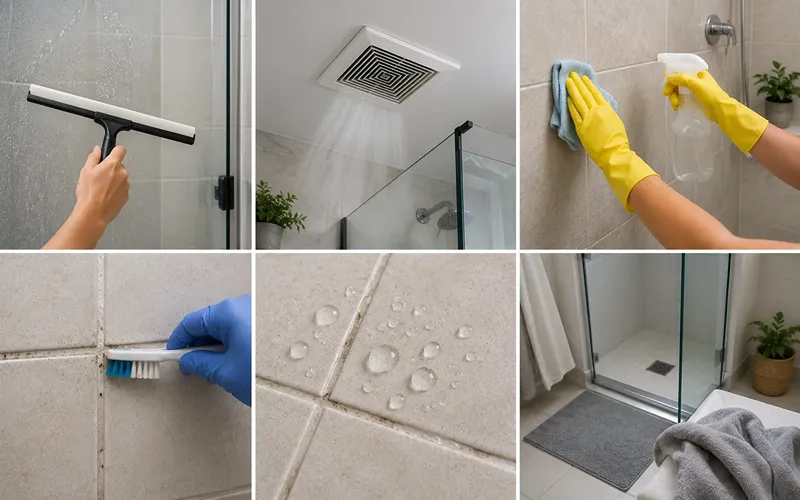
Deep cleaning restores a shower, but a light maintenance routine is what keeps it from needing a deep clean in the first place.
- Daily: Squeegee the walls, floor, and glass after every shower, and run the bathroom exhaust fan (or crack a window) for about 20 minutes afterward. This habit alone prevents most water spots, soap scum, and mildew from ever taking hold.
- Weekly: Wipe tiles down with a pH-neutral cleaner or a light vinegar spray (surface permitting) to catch buildup before it sets in.
- Monthly: Inspect grout lines for early signs of mold, mildew, or discoloration, and deep-clean as needed.
- As needed, per manufacturer guidance: Reseal grout when water stops beading on the surface or when your sealer’s recommended interval is up, this varies by grout and sealer, so there’s no single universal timeline.
A couple of smaller habits help too: leaving the shower door or curtain slightly open for airflow, and keeping a separate towel on hand just for wiping down tile after use.
A routine wipe-down like this typically takes five minutes or less; a full deep clean, including grout, usually runs 30–45 minutes depending on how much buildup you’re dealing with.
Do’s and Don’ts of Shower Tile Cleaning
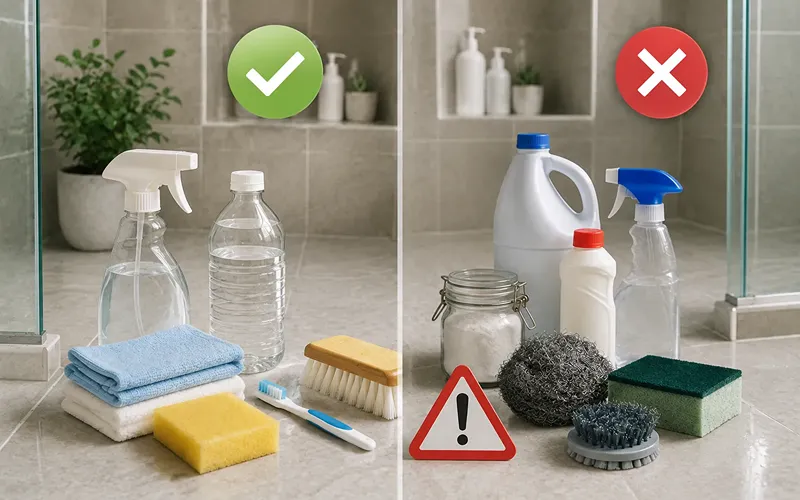
Do:
- Check tile, grout, and sealer care instructions before choosing a cleaner
- Use soft sponges, microfiber cloths, or soft-bristled brushes
- Test any new product on a small, hidden area first
- Rinse and dry thoroughly, and ventilate after cleaning
Don’t:
- Use steel wool, metal brushes, or abrasive scouring pads
- Mix cleaning products, especially vinegar and any form of bleach
- Use acidic cleaners on natural stone
- Ignore mold that keeps returning in the same spot
Final Takeaway
Clean shower tiles come down to two things: using a cleaning method suited to your specific tile, grout, and sealer, and keeping up a light routine so grime never gets the chance to set in. If mold or staining keeps coming back despite regular cleaning, treat that as a signal to check for a moisture source rather than reaching for a stronger product.
Frequently Asked Questions
How often should I deep clean my shower tiles?
A thorough deep clean every one to two weeks is generally enough if you’re keeping up with daily squeegeeing and weekly wipe-downs. Bathrooms with heavier use or poor ventilation may need it more often.
Is vinegar safe for all shower tiles?
No. Vinegar is generally fine on ceramic, porcelain, and glass, but its acidity can etch and dull acid-sensitive natural stone like marble, travertine, limestone, or onyx. Always check your grout and sealant compatibility too, and use a pH-neutral cleaner on stone instead.
What’s the best way to remove mold from grout?
An oxygen bleach paste, mixed according to the product label, can be effective when left to dwell for the time the label recommends, in a well-ventilated bathroom. If the same spot keeps growing mold back after cleaning, that usually points to a moisture problem, like a leak or poor ventilation, rather than something cleaning alone can fix.
Does sealing grout really make a difference?
Yes, for cementitious grout in particular. A sealed grout line resists moisture, soap scum, and staining far better than unsealed grout, which cuts down on how often you need to deep clean. Epoxy grout, by contrast, generally doesn’t need sealing.
How is caulk different from grout, and does it matter for cleaning?
Grout fills the joints between tiles; caulk (silicone sealant) is used where tile meets another surface, like the tub or a corner, because it can flex. It matters for cleaning because mold embedded in failing caulk often can’t be fully removed by cleaning, the caulk may need replacing.